

Preparing a Monarch-Friendly Flower Bed: Week-by-Week Bed Prep for Early Spring
Monarch season starts in your flower bed long before the first orange-and-black wings appear. The way you clear, shape, and nourish your beds in late winter and early spring determines how ready you’ll be when that first female arrives, scouting for milkweed and nectar. This week, we’ll focus on practical flower bed preparation so your garden is ready to Rescue–Raise–Release monarchs with confidence.
Why bed preparation matters for monarchs
Monarchs need two things from your garden: milkweed for their caterpillars and nectar-rich flowers for the adults. Both perform best in beds that have been thoughtfully prepared rather than hastily planted. Good preparation:
– Gives milkweed deep, strong roots so it can bounce back after hungry caterpillars.
– Supports continuous nectar blooms so adults can refuel on their journey.
– Reduces pest and disease pressure by improving airflow and soil health.
– Makes it easier for you to find eggs, monitor caterpillars, and safely access chrysalides.
Think of this week as setting the stage. The plants will be the stars later, but right now, your flower bed is the main character.
Step 1: Assess and gently clean your bed
Start by standing back and really looking at the bed you’re about to prep. Notice where last year’s plants are, where the sun hits first in the morning, and where water tends to collect after a rain.
Then move in for a gentle clean-up:
– Remove dead annuals, invasive grasses, and obvious weeds. Focus on anything that aggressively competes with your milkweed, especially turf grasses creeping in from the lawn.
– Cut back last year’s perennial stems to about 8–12 inches, leaving short “stubs” to provide overwintering habitat for beneficial insects while protecting emerging shoots.
– Look carefully for milkweed crowns or emerging shoots. Mark them with a small stake or plant tag so you don’t accidentally dig them up when you turn the soil.
– Keep a few small patches of leaf litter or hollow stems around the edges or in a nearby bed. These can shelter beneficial insects and other tiny garden allies.
Use whatever tools you’re comfortable with—hand fork, hori-hori knife, pruners, and a rake are usually enough. The goal is to tidy, not strip the bed bare.

Step 2: Work and improve the soil
Healthy monarch plants start below the surface. Most milkweeds and nectar flowers appreciate well-drained soil that still holds enough moisture to keep roots consistently hydrated. Northwest Louisiana soils often vary from clay-heavy to sandy-loam; adjust organic matter accordingly to improve drainage in heavier clays.
Here’s a simple approach:
– Loosen the soil to a depth of about 6–8 inches. Use a digging fork or shovel to lift and gently crumble compacted soil, especially if your bed borders a walkway or gets a lot of foot traffic.
– Mix in organic matter. Compost, leaf mold, or well-rotted manure can dramatically improve structure and fertility. Aim for a few inches worked into the top layer rather than one thick layer buried at the bottom.
– Do the “hand-squeeze test.” Take a small handful of moist soil and squeeze:
– If it crumbles when you open your hand, you’re in the sweet spot.
– If it forms a tight, sticky ball, it’s holding too much water and may need more organic matter and sometimes a bit of coarse material.
– If it falls apart like dust, it likely needs more organic matter and moisture.
Different parts of the same bed can serve different milkweed personalities:
– Swamp milkweed (Asclepias incarnata) and aquatic milkweed (Asclepias perennis) appreciate the slightly wetter spots, like near downspouts or low areas.
– Drier, well-drained spots on a small rise or near the front of the bed are perfect for species like butterfly weed and many sun-loving nectar plants.
When it comes to fertility, go easy. Heavy doses of synthetic, high-nitrogen fertilizer can create lush, sappy growth that attracts aphids and leads to floppier plants. A steady diet of compost and, if needed, a slow-release, balanced fertilizer is generally plenty.
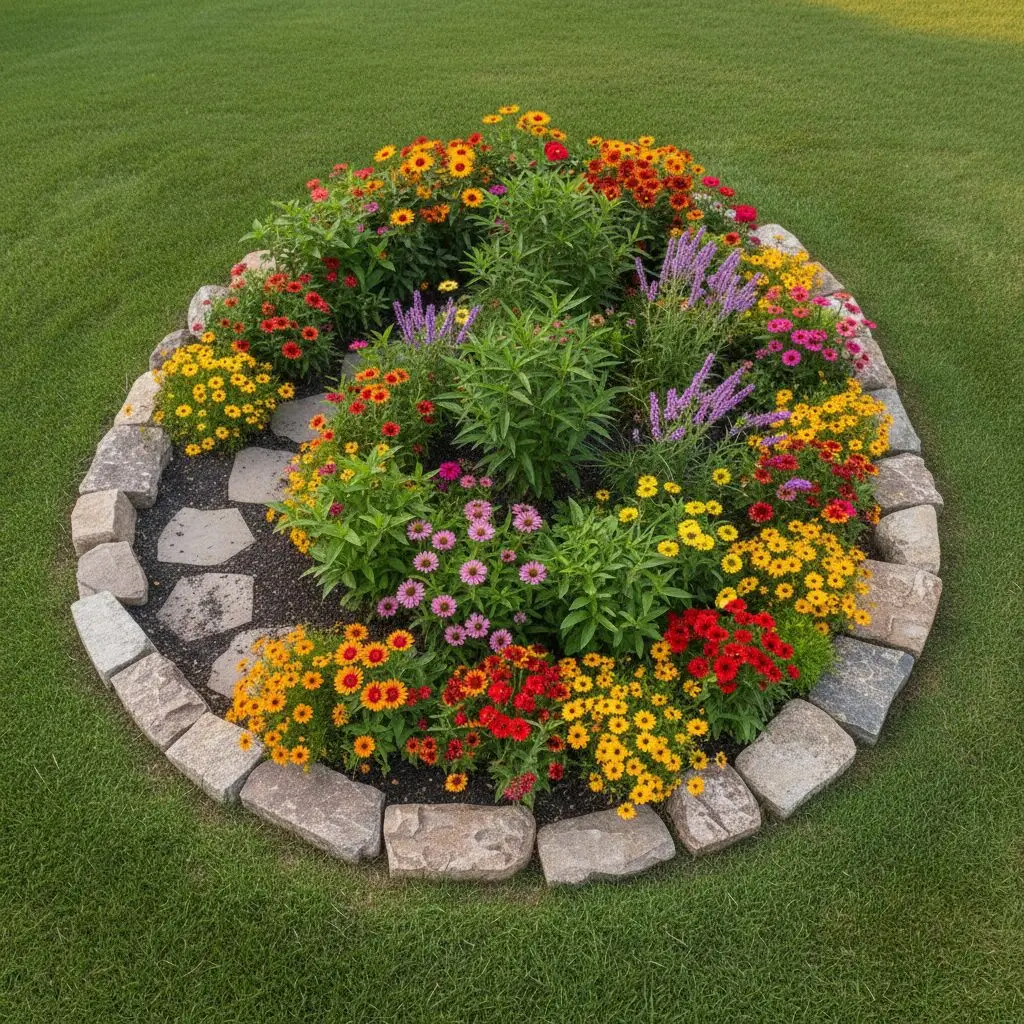
Step 3: Design a monarch-focused layout
Now that the bed is cleared and the soil is fluffed and fed, it’s time to think like a monarch. Your layout should make it easy for butterflies to find what they need and easy for you to do your monarch wrangling.
Use this simple structure:
– Milkweed as the heart of the bed
Place milkweed in the sunniest part of the bed where you can easily see and reach it. This is your “nursery zone” for eggs and caterpillars. Group milkweed in small clusters rather than scattering single plants everywhere—monarchs find them more easily this way, and it’s easier to monitor.
– Nectar plants as the frame
Surround or back your milkweed with nectar plants. Taller nectar plants can go toward the back or center, depending on your viewing angle, with lower-growing flowers toward the front. This frames the milkweed and provides a buffet of blooms for adult monarchs and other pollinators.
– A path for the wrangler
Build in a “service path” or stepping stones so you can step into the bed to inspect leaves, check on caterpillars, and access chrysalides without trampling plants. This might be as simple as a line of flat stones or a narrow mulch path.
In hot climates, favor a bed location or layout that offers:
– Full morning sun to warm plants and butterflies early in the day.
– A bit of afternoon relief, such as dappled shade from a nearby tree or structure, especially during peak summer heat.

Step 4: Choose a host and nectar plant mix
If bed prep is the stage and layout is the script, your plant selection is the cast. For monarchs, you need two categories: hosts and nectar. Whenever possible, select native plants suited to northwest Louisiana’s climate and soils to maximize benefits for monarchs, support local pollinators, and align with regional conservation recommendations from sources like the LSU AgCenter.
Host plants (for eggs and caterpillars):
– Butterfly milkweed (Asclepias tuberosa): Excellent for well-drained, sunny spots; features vibrant orange blooms that serve as both host and nectar source. Thrives in central, west, and north Louisiana.
– Common milkweed (Asclepias syriaca): Well-suited to north Louisiana; provides sturdy stems and pink-purple flowers attractive to monarchs.
– Swamp milkweed (Asclepias incarnata) Ideal for moderately moist areas, with pink blooms and strong structure.
– Aquatic milkweed (Asclepias perennis): Great for wetter micro-areas, edges of rain gardens, or near downspouts. It handles “feet wet” conditions better than many other milkweeds (more reliable in southern areas but viable in suitable spots).
You can supplement with other region-appropriate milkweed species that fit your climate and soil, keeping native or well-adapted varieties as your priority. Prioritize native milkweed species adapted to northwest Louisiana conditions, such as those recommended by the LSU AgCenter or the Louisiana Native Plant Society.
Nectar plants (for adult monarchs):
– Lantana (Lantana camara and other suitable varieties)
Known for clusters of bright blooms and long flowering periods, lantana offers rich nectar and color that draws in both monarchs and a host of other butterflies.<sup>1</sup>
– Salvia (such as Salvia greggii, S. microphylla, or other regionally reliable species)
Salvias produce nectar-rich spikes and can bloom repeatedly when deadheaded. Their vertical form also adds structure and movement to the bed.
Plant in drifts or clumps rather than one of each plant spaced evenly apart. Clumps create visual cues for pollinators and look more natural. Leave space between groupings for airflow to reduce fungal problems and make it easier to inspect leaves.
Note: Lantana camara can escape cultivation and become problematic in parts of Louisiana, including northern areas where it has naturalized in some locations. Consider sterile cultivars or native alternatives (e.g., blazing star [Liatris spp.], goldenrod [Solidago spp.], or purple coneflower [Echinacea purpurea]) to minimize ecological risk while still providing excellent nectar.
Step 4½: Starting from seed and using propagation trays
Not every monarch plant has to come from the nursery. Starting from seed gives you more plants for less money and lets you control exactly which species go into your bed.
Choosing and handling seed
– Prioritize regionally appropriate milkweed and nectar plant seed from reputable sources.
– Store seed in a cool, dry place until you’re ready to sow, and label packets clearly with species and date.
– For milkweed that benefits from cold moist stratification, set aside time several weeks ahead to mimic winter—for example, chilling moist seed in the refrigerator in a labeled bag.
Direct sowing vs. propagation trays
You have two main options for getting seeds started:
– Direct sowing into the bed
– Works best once the bed is prepped and you’re close to your last expected frost date.
– Scratch seeds into the top ¼ inch of soil and water gently.
– Mark rows or patches so you don’t mistake seedlings for weeds when you return with your hoe or hand fork.
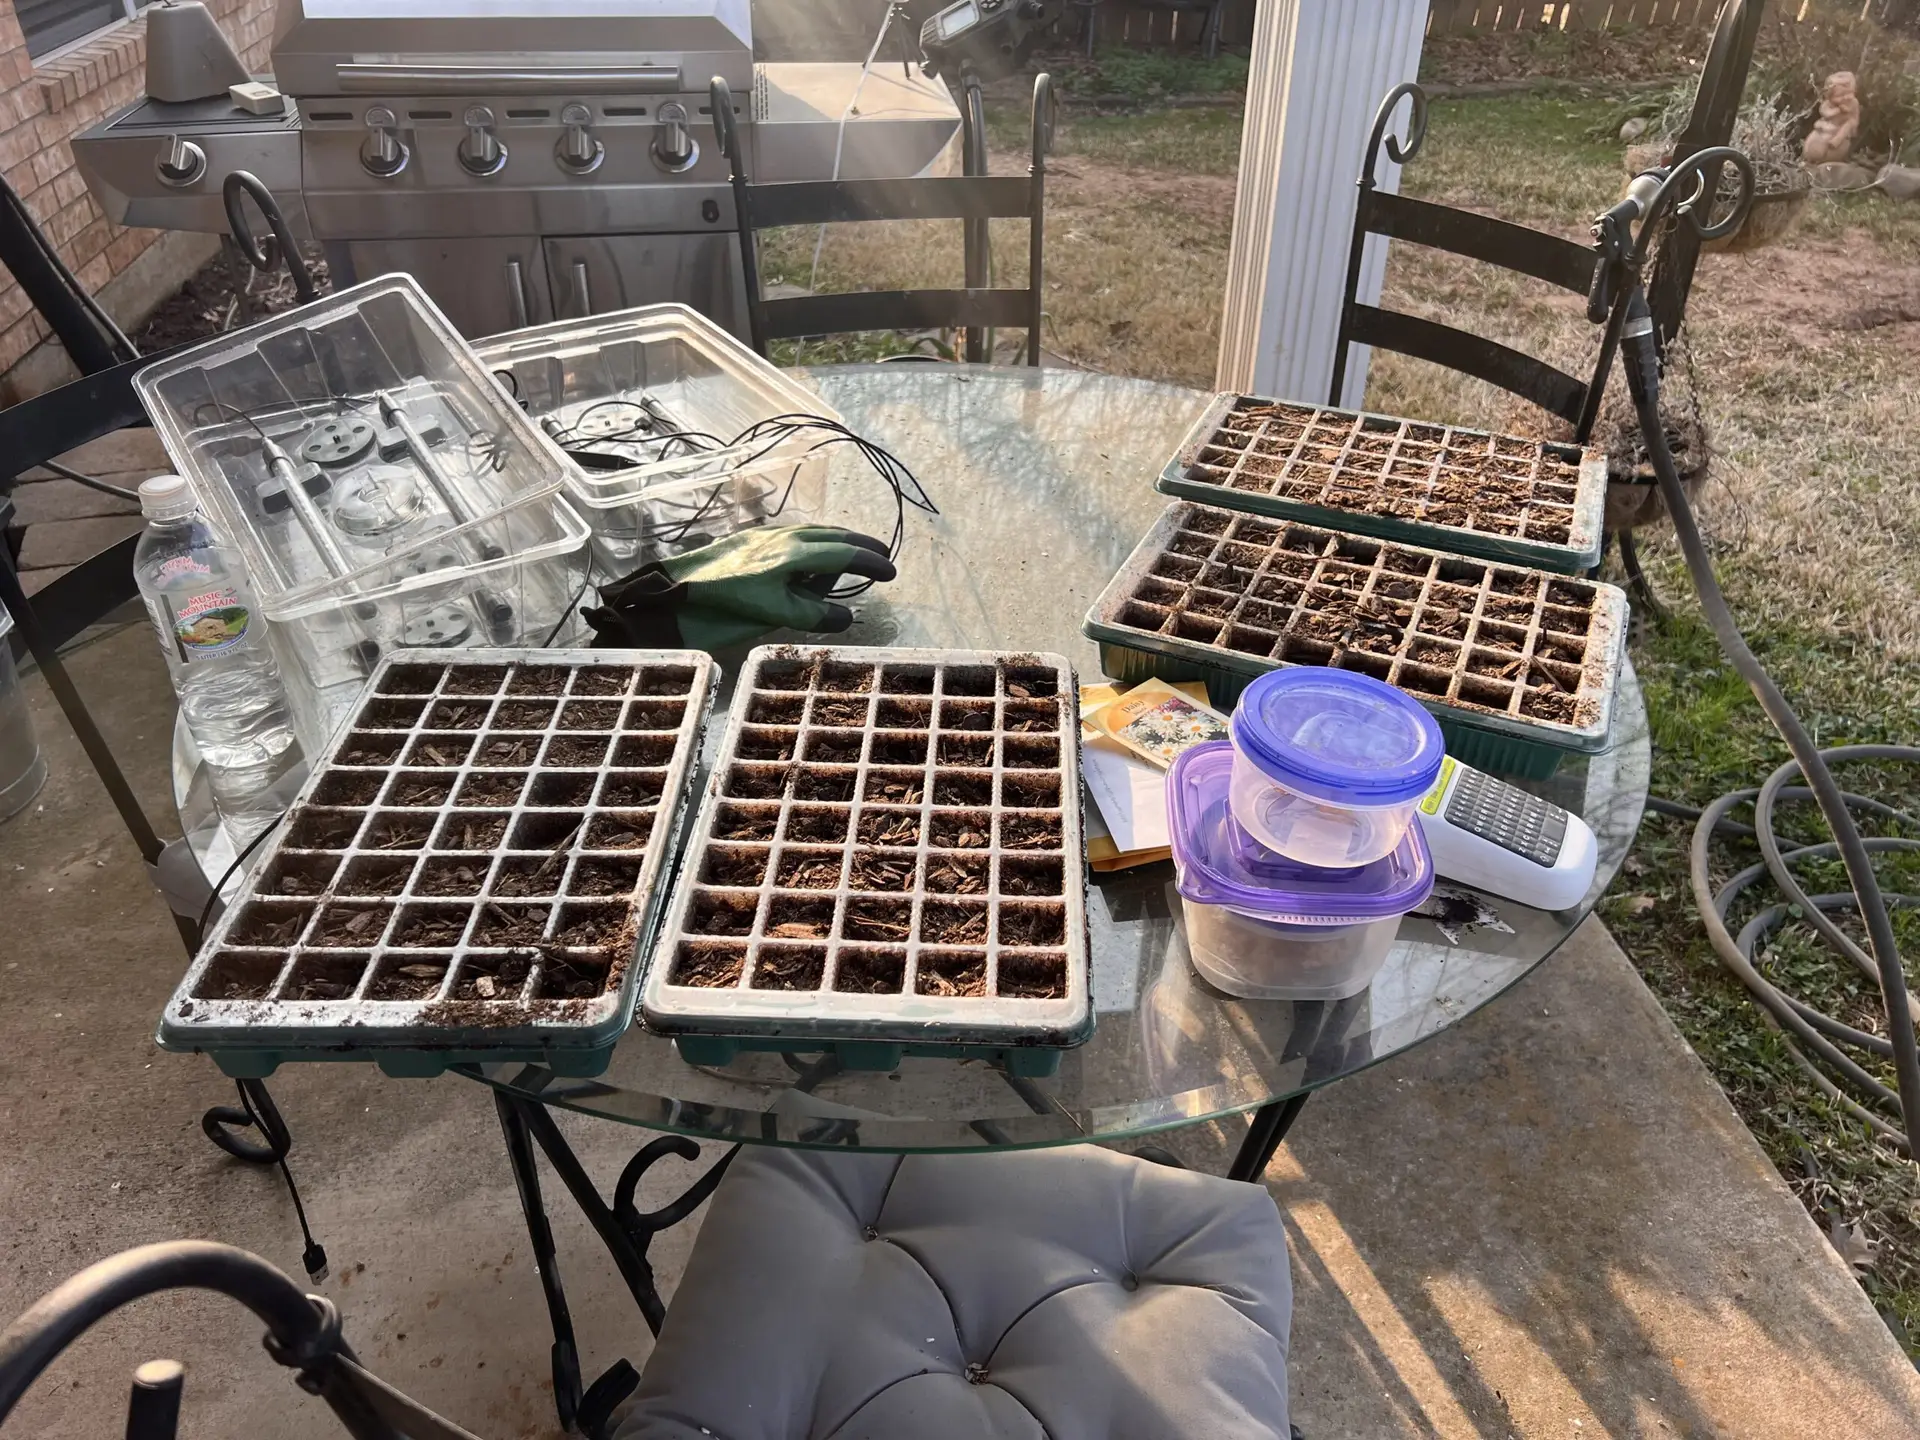
– Using propagation trays
– Offers more control over germination, moisture, and protection from pests.
– Ideal for starting milkweed and nectar plants a few weeks before you want to set them into the bed.
– Lets you grow strong, transplant-ready seedlings that can slide into the spaces you’ve prepared.
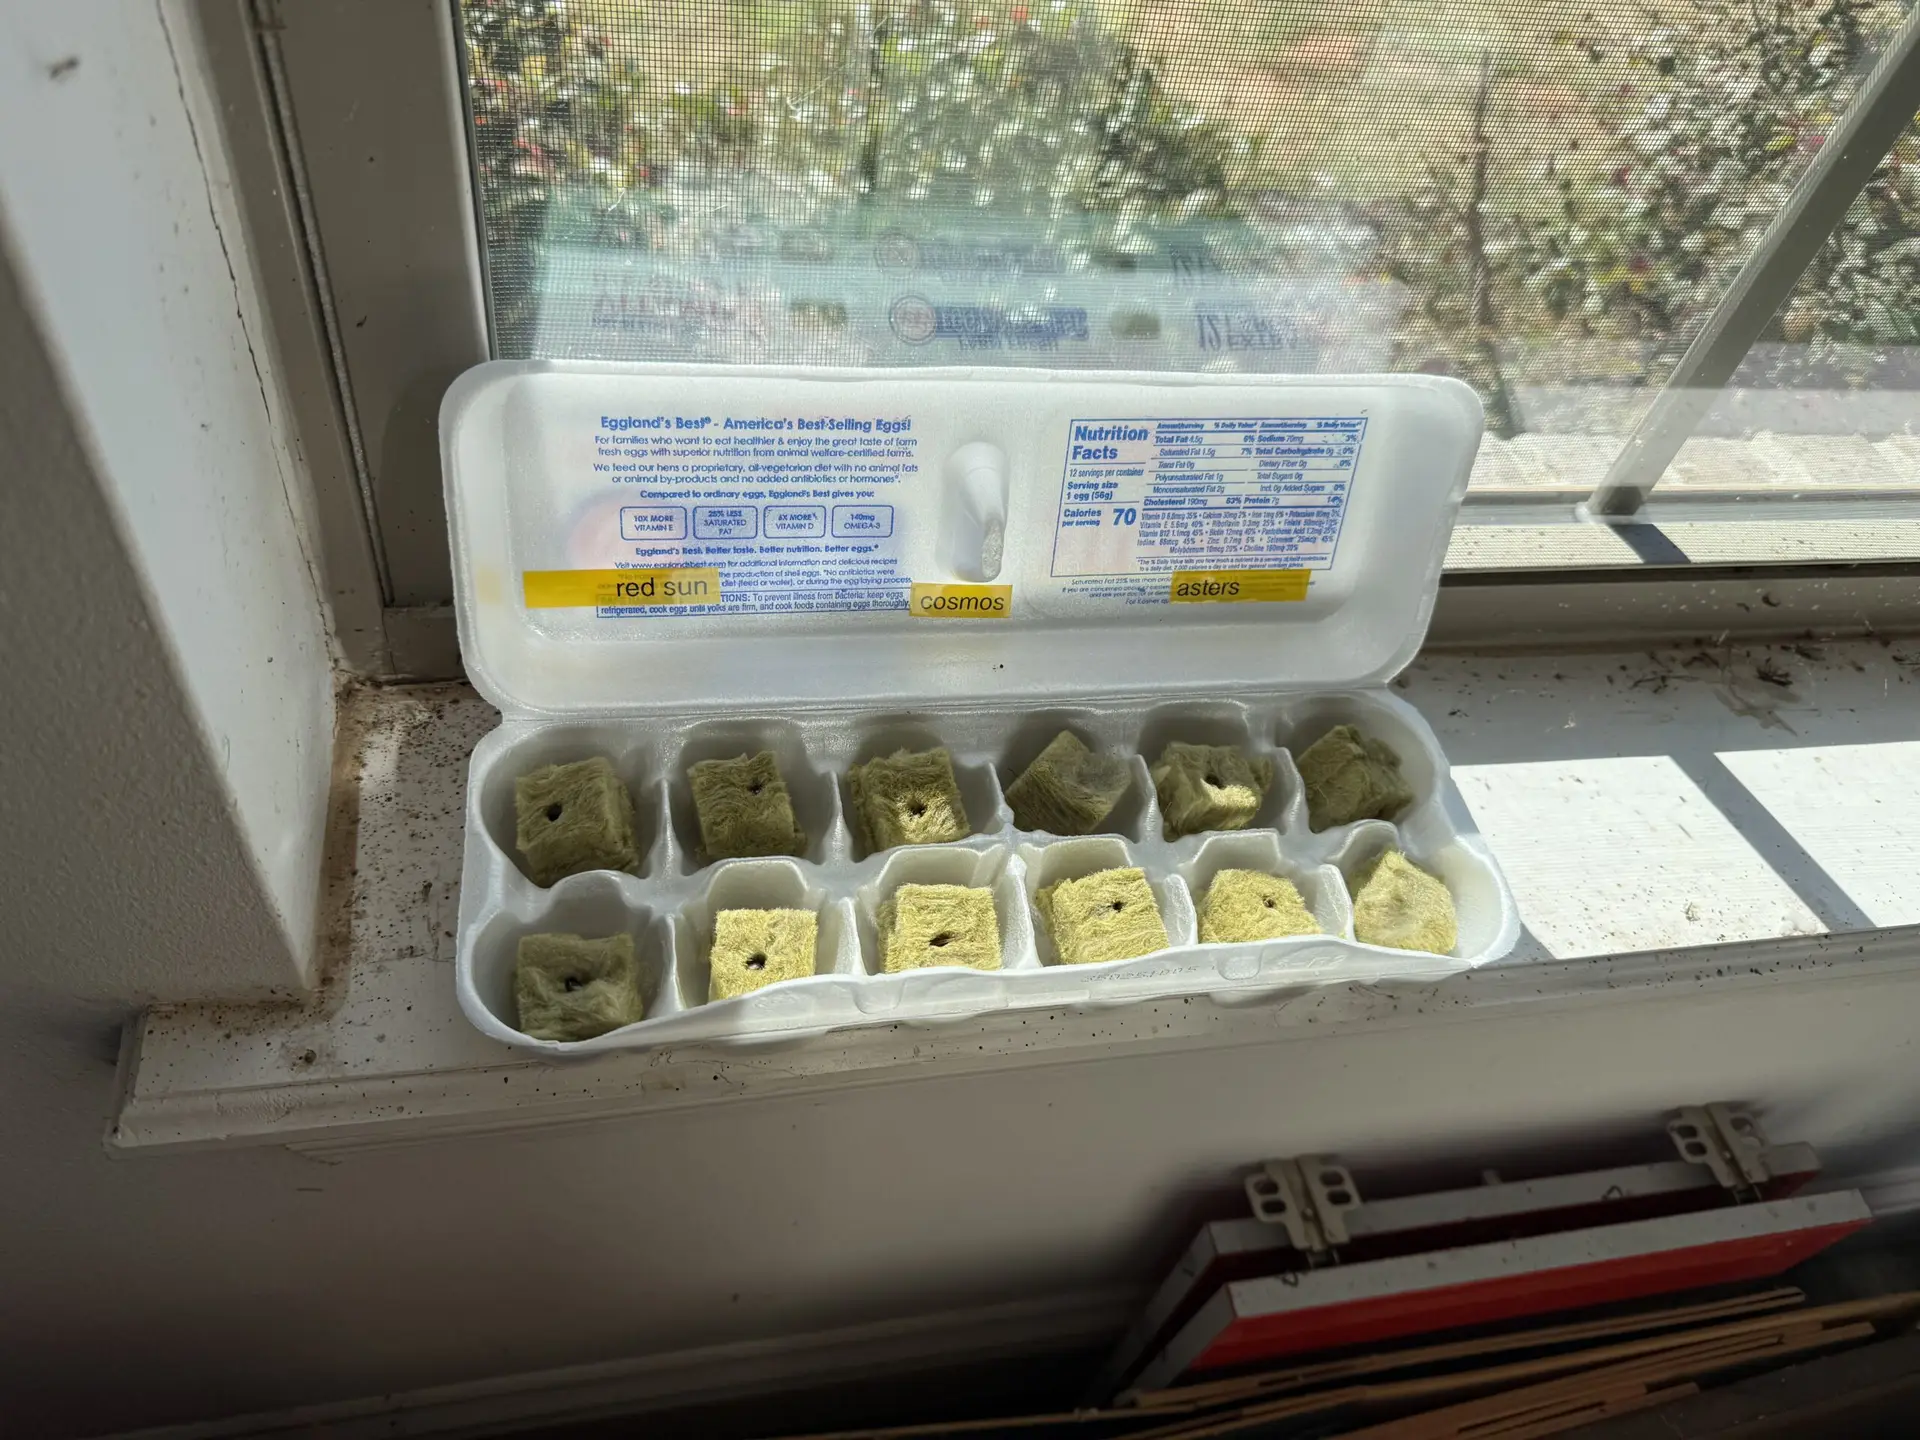
How to use propagation trays effectively
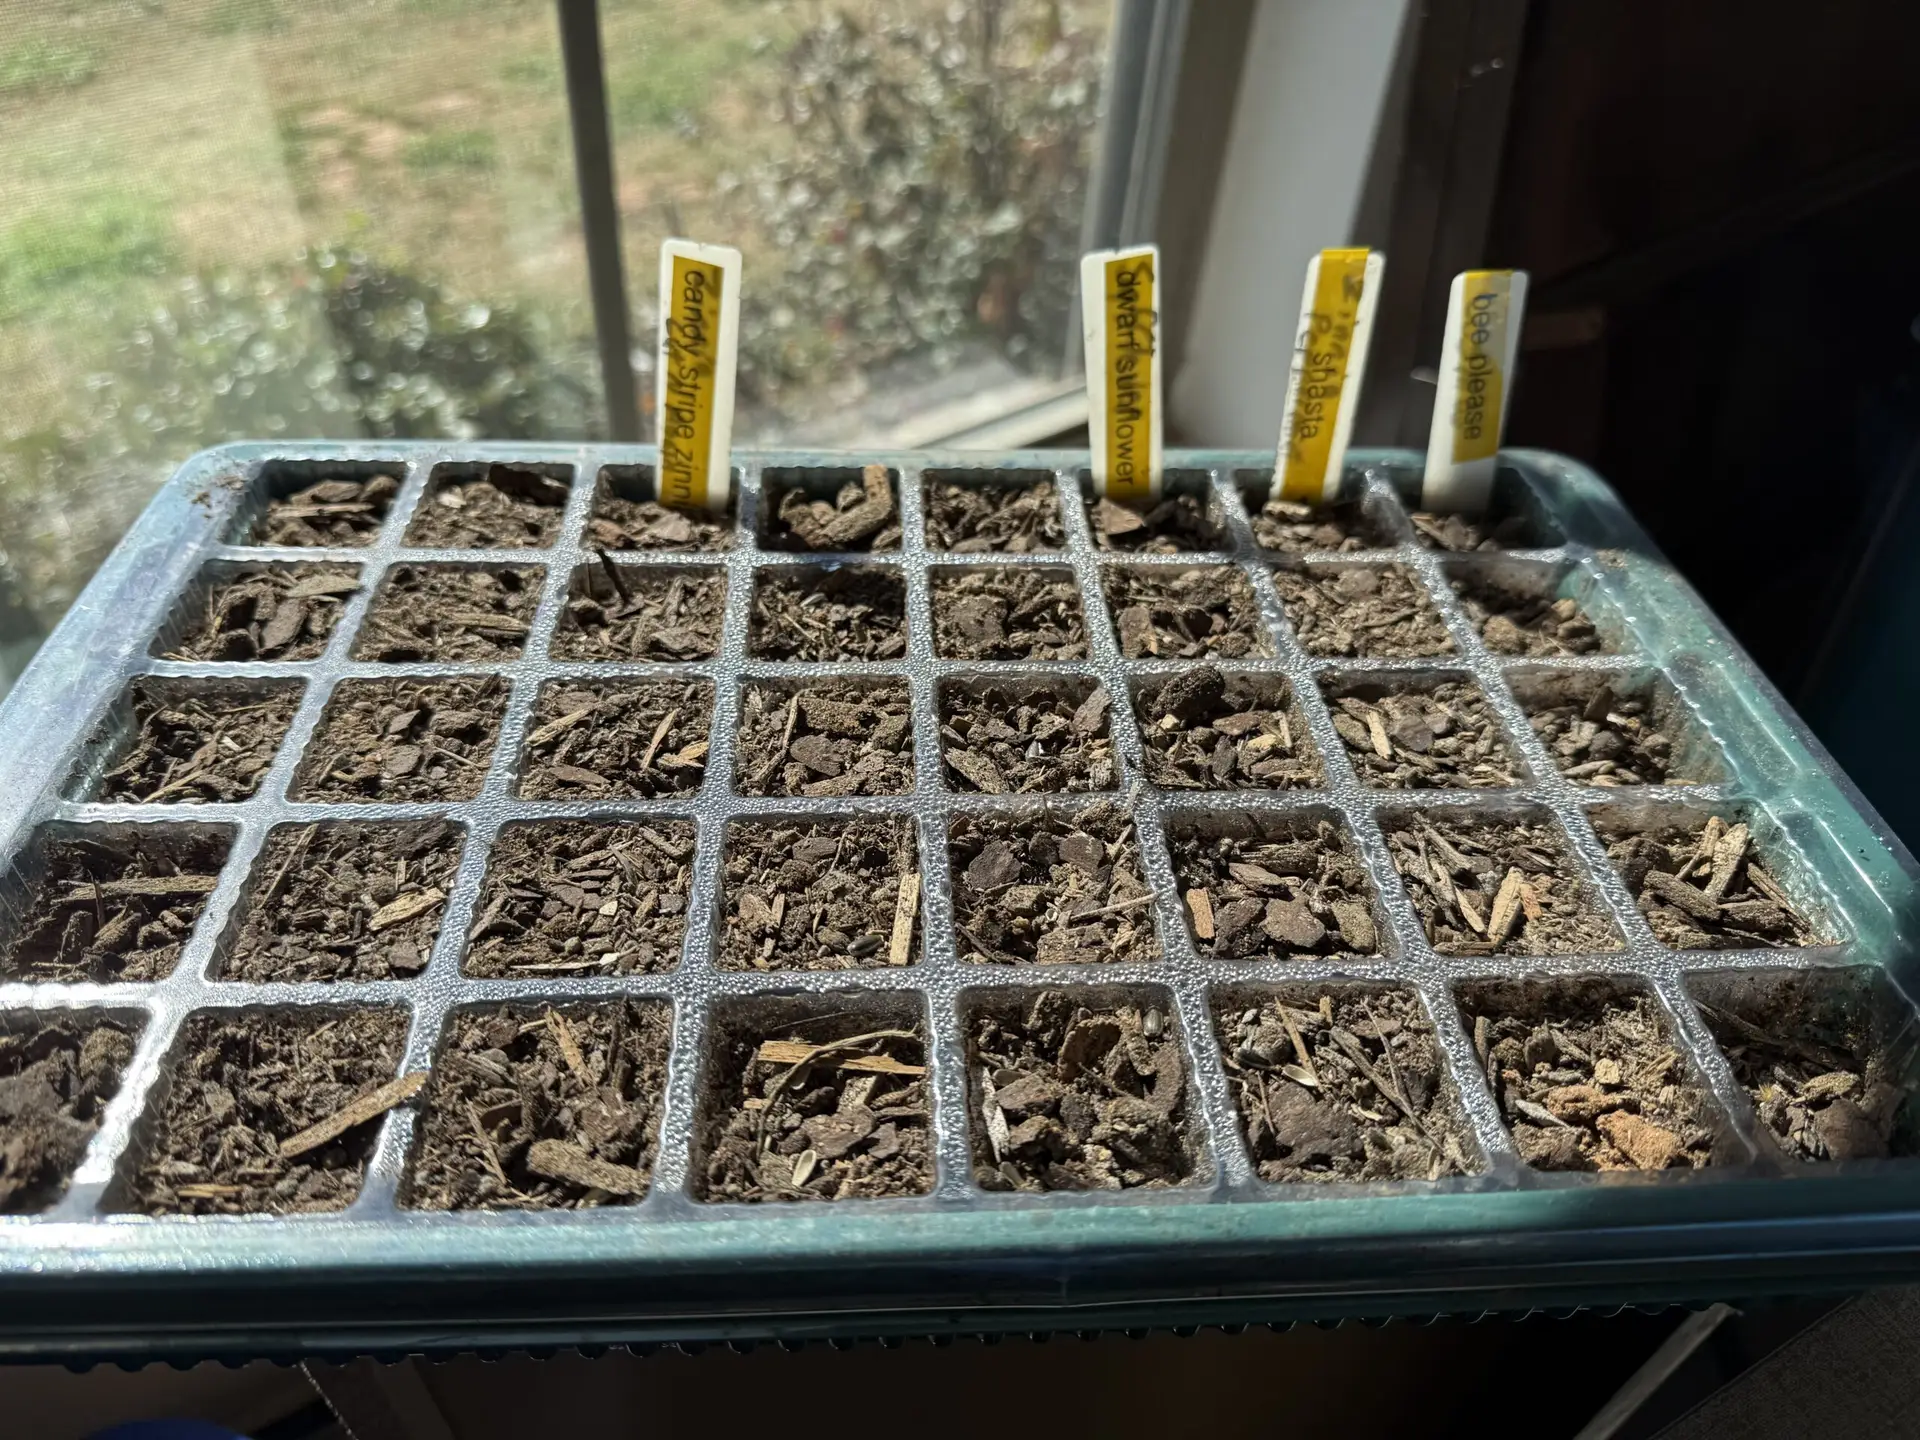
– Fill trays with a high-quality seed-starting mix that drains well but holds moisture. Moisten the mix before filling cells so it’s damp but not soggy.
– Sow 1–3 seeds per cell, depending on seed size, and lightly cover according to the packet’s depth recommendation. Gently press the surface to ensure good seed-to-soil contact.
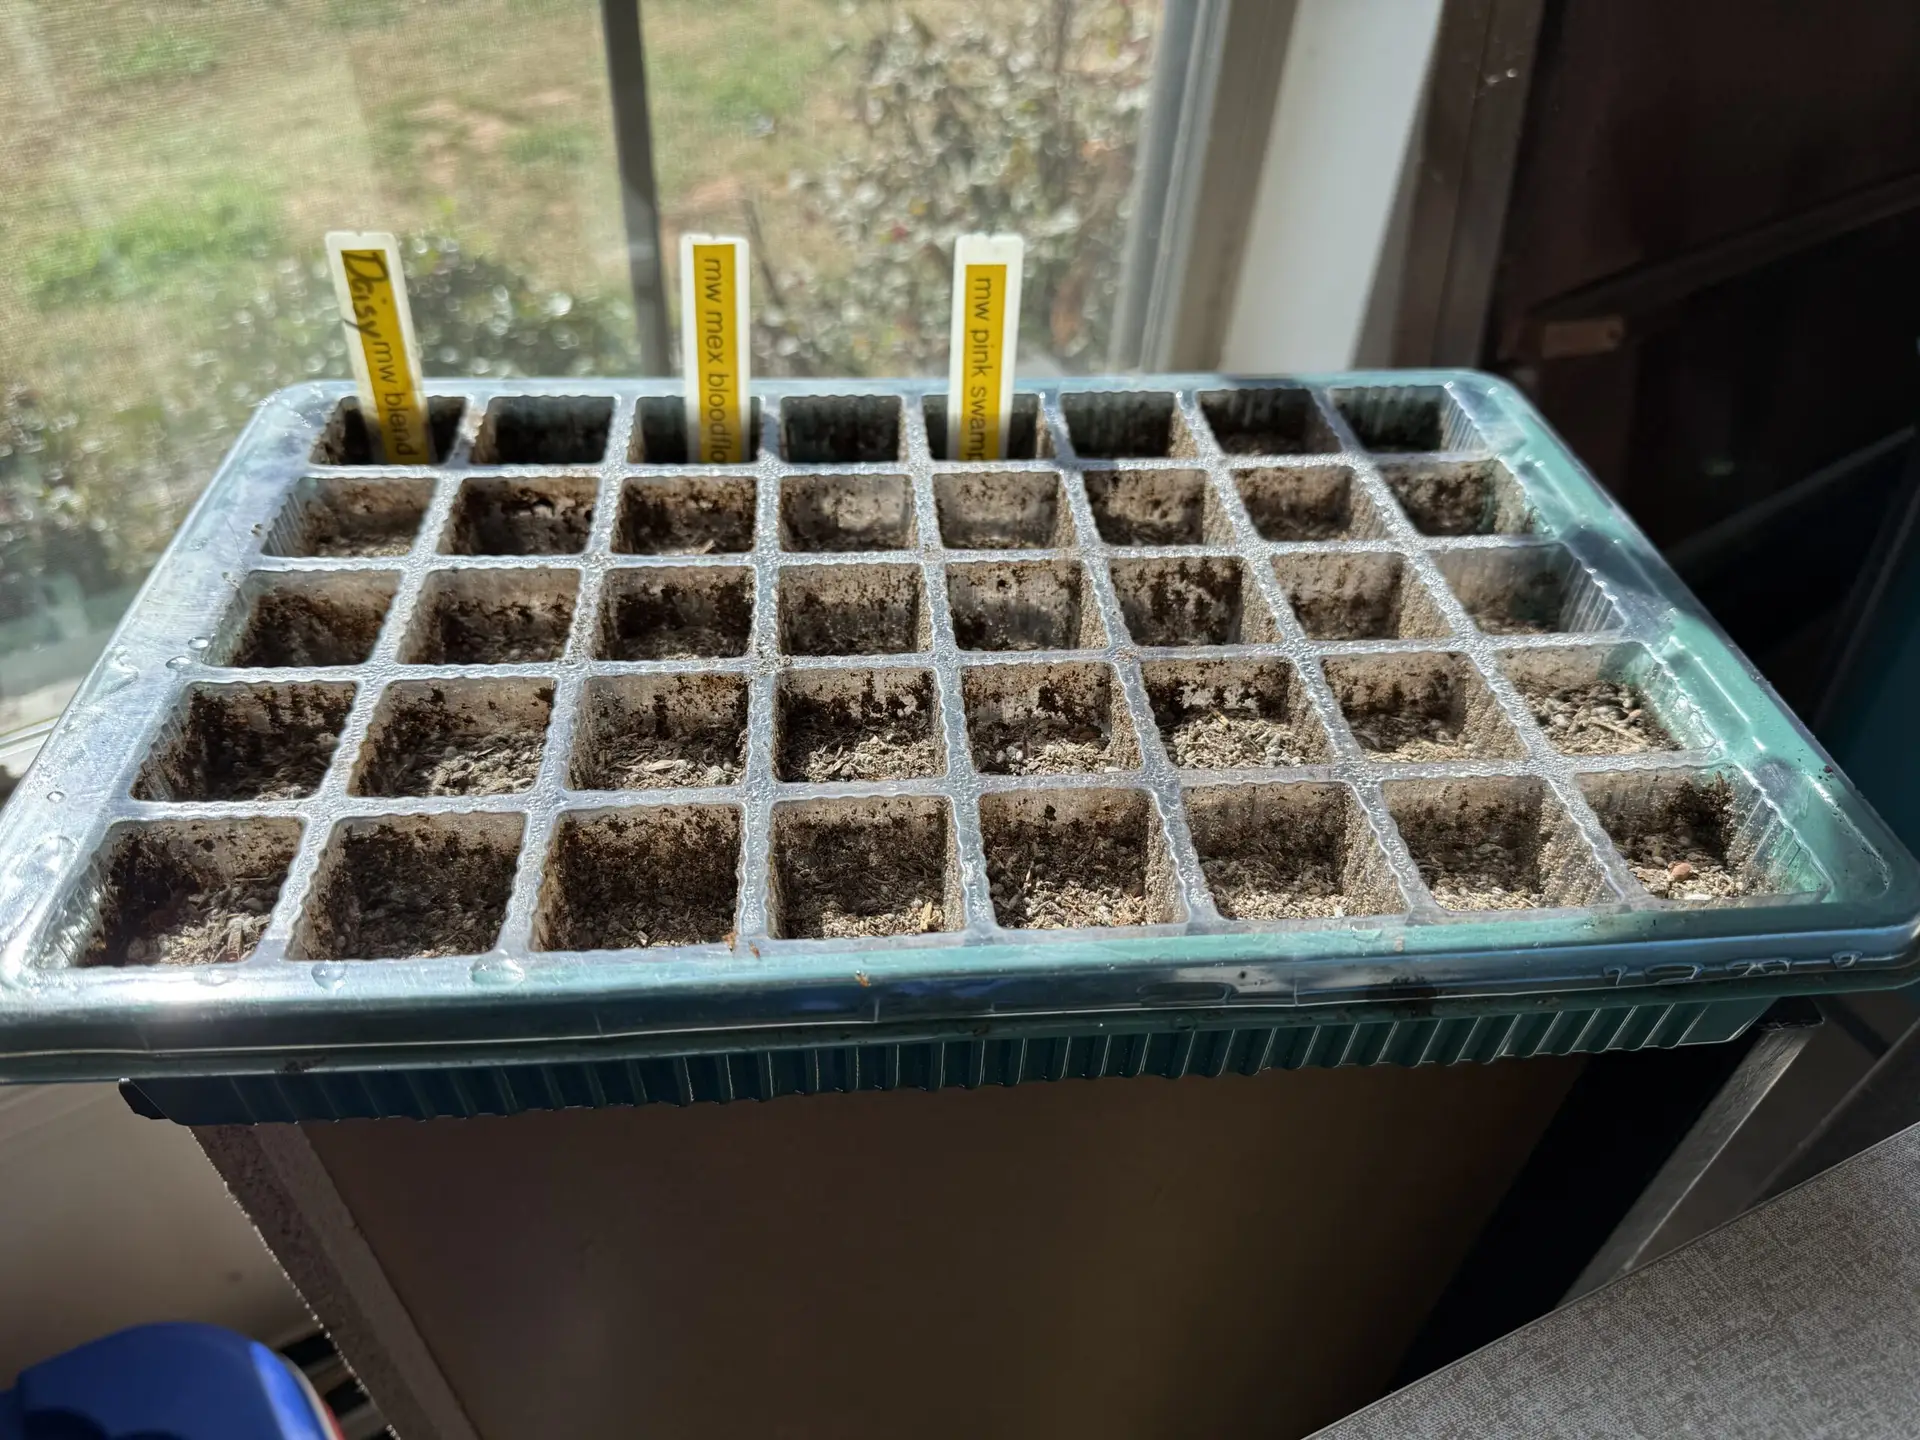
– Label every tray and row. You may think you’ll remember which milkweed is which, but in three weeks all green sprouts look suspiciously similar.
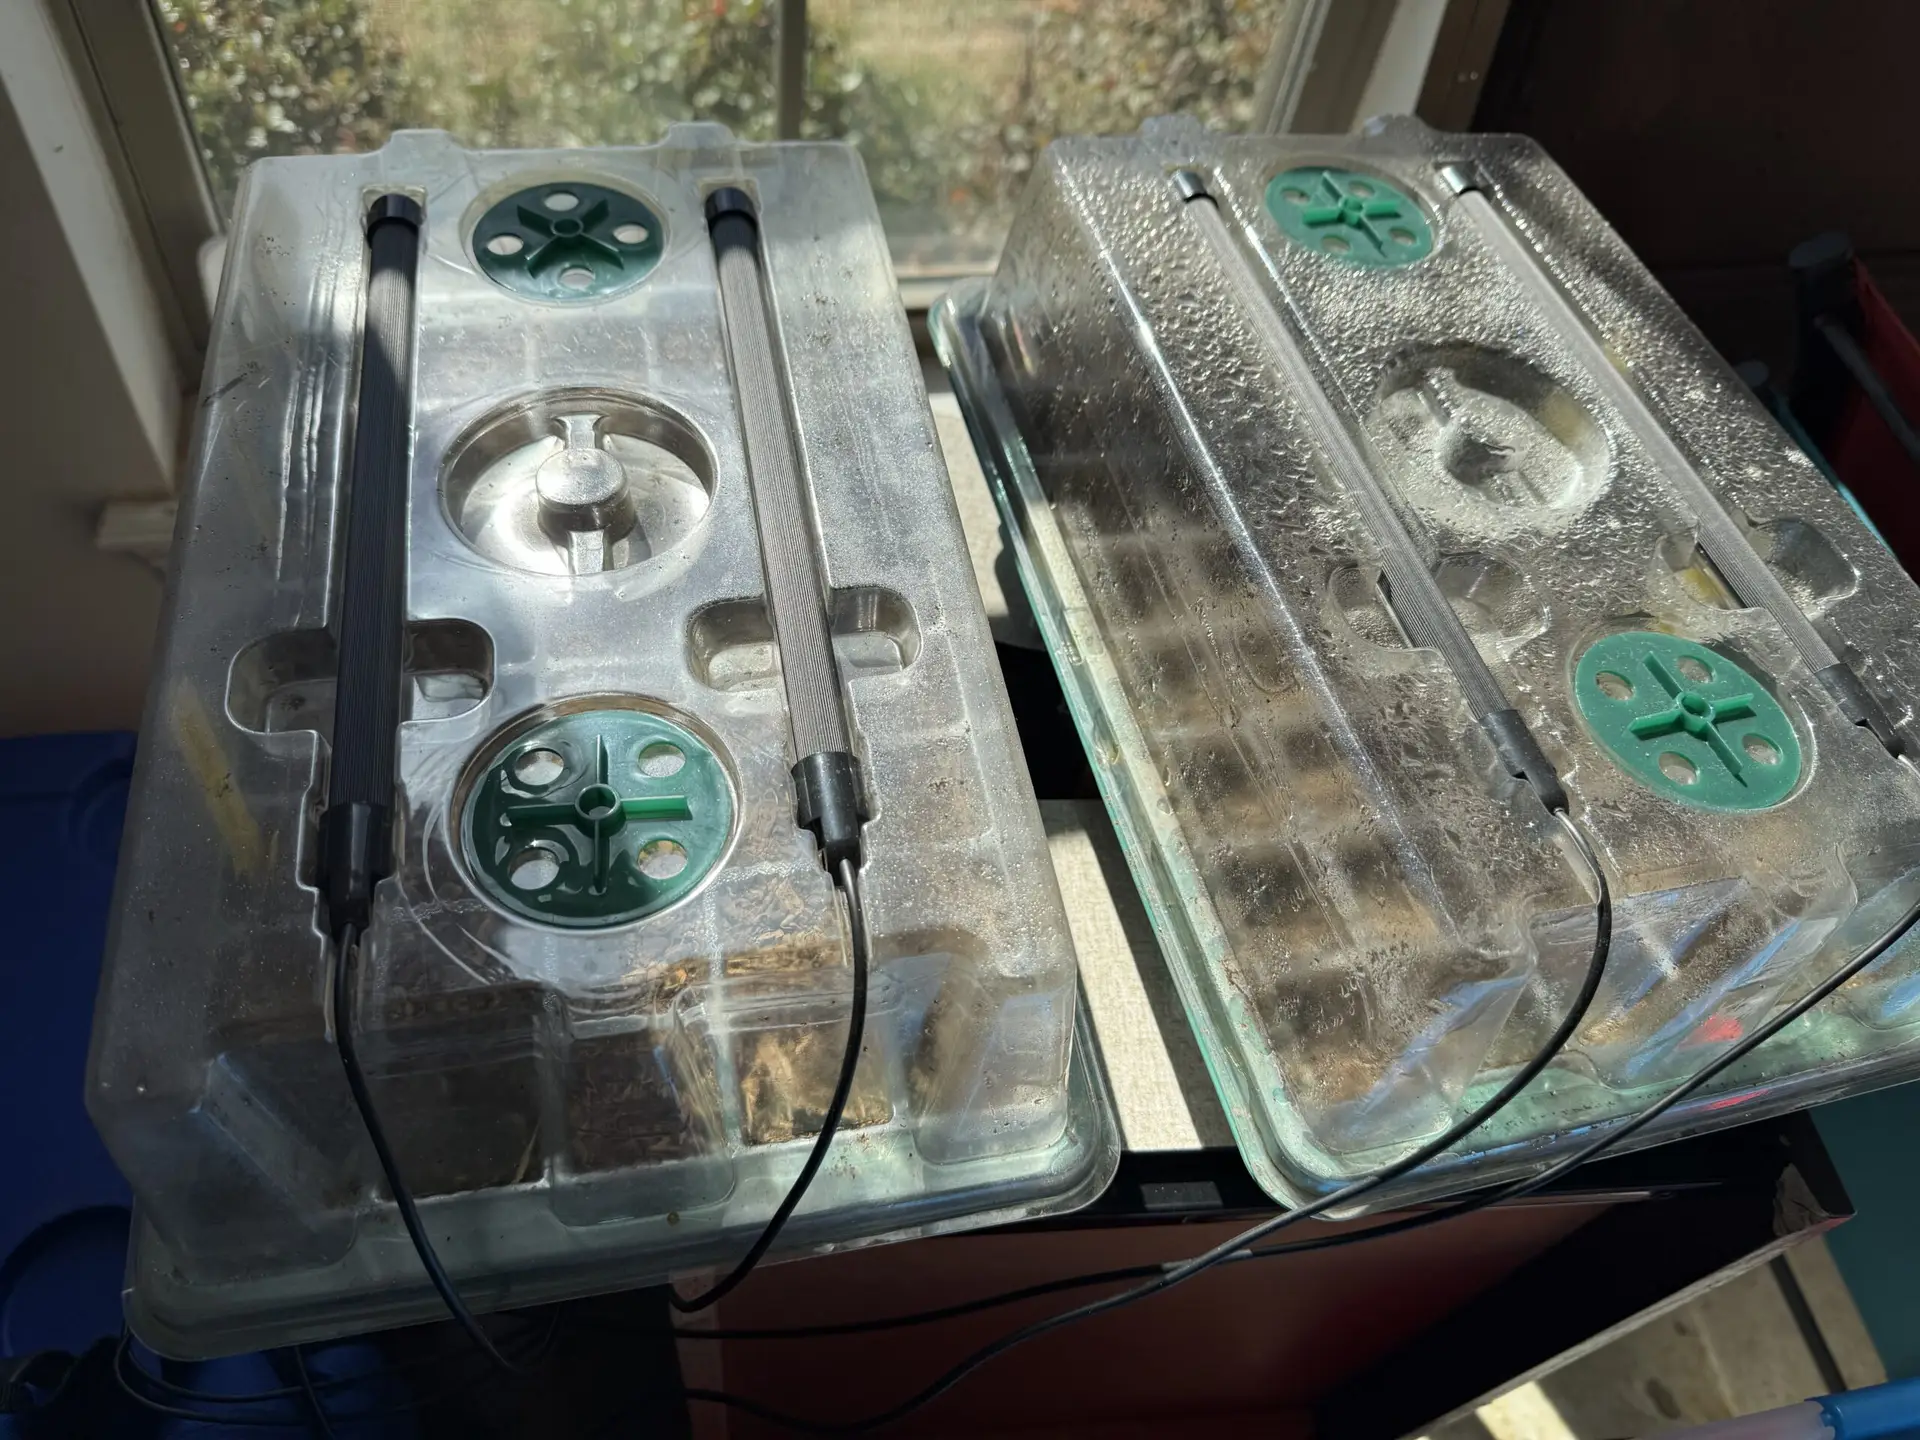
– Keep trays consistently moist—never bone dry, never waterlogged. A humidity dome can help during germination, but crack it or remove it once seedlings are up to prevent damping-off.
– Provide bright light. A sunny window may be enough, but grow lights positioned a few inches above seedlings help prevent leggy, weak growth.
When seedlings have at least one or two sets of “true leaves” and the outdoor conditions are suitable, begin hardening them off:
– Place trays outdoors in a sheltered, lightly shaded spot for a couple of hours the first day, then gradually increase sun and time over a week.
– Protect them from strong wind and heavy rain during this transition. Your goal is tough, compact seedlings, not flattened green pancakes.
Transplanting seedlings into your prepared bed
Once your bed is prepped and your seedlings are hardened off:
– Use your layout plan to position trays near where each plant will go—milkweed in the “nursery zone,” nectar plants framing and backing them.
– Dig holes just slightly larger than each cell plug or seedling rootball.
– Slide seedlings out of the tray gently, disturbing roots as little as possible.
– Plant at the same depth they were growing in the tray, firm the soil gently around them, and water thoroughly.
– Follow with mulch, keeping it pulled back from the stems so they aren’t smothered.
Starting from seed and using propagation trays turns one packet into dozens of plants, giving you the density you need for a truly monarch-magnetic flower bed.
Step 5: Water, mulch, and micro-habitat touches
Once your plants are in the ground (or once you’ve prepped the bed and marked where they’ll go), finish the preparation with water and mulch.
Watering:
– Give the bed a deep watering after soil work and planting to settle roots and remove air pockets.
– Aim for fewer, deeper waterings rather than frequent, shallow sprinkles. Deep watering encourages strong root systems that can better handle summer heat and short dry spells.
Mulching:
– Apply a 2–3 inch layer of organic mulch, such as shredded leaves, pine straw, or bark mulch.
– Keep mulch pulled back a couple of inches from milkweed crowns and plant stems to prevent rot and give emerging shoots room to breathe.
– Mulch helps moderate soil temperatures, retains moisture, and suppresses weeds—three big wins for monarch plants.
Micro-habitat extras:
– Add a shallow “puddling” dish or a natural low spot filled with moist sand or soil. Keep it damp so butterflies and other insects can sip minerals and water.
– Place a flat rock or paver in a sunny section of the bed. Butterflies, bees, and even small lizards will use it as a warm basking platform on cool mornings.
– Consider a small brush pile or a few upright plant stems at the back of the bed or in a neighboring area to offer shelter and perching spots for beneficial insects and birds.
A simple week-by-week checklist
To make this easy to follow, here’s a quick timeline you can put into action starting now.
Week 1: Clear and condition
– Walk your bed and identify milkweed crowns and other perennials; tag them so you don’t disturb them.
– Remove dead annuals, invasive weeds, and encroaching turf.
– Cut back last year’s stems to 8–12 inches.
– Loosen the soil to 6–8 inches and mix in compost or other organic matter.
– Note wet and dry micro-areas where different milkweed species and nectar plants will thrive.
Week 2: Plant and refine
– Finalize your layout: milkweed in the sunniest, most visible spots; nectar plants framing and backing them.
– Plant or transplant your chosen milkweed and early nectar plants like lantana and salvia, along with any tray-grown seedlings you’ve started from seed.
– Add mulch, being careful around plant crowns.
– Set up your puddling spot and place a flat rock for basking.
– Add stepping stones or a narrow path so you can access the bed easily during prime monarch season.
Comments (0)