
Preparing a Monarch-Friendly Flower Bed: Week-by-Week Prep and Layout Ideas for the 2026 Spring Migration
Why Bed Prep Matters Now
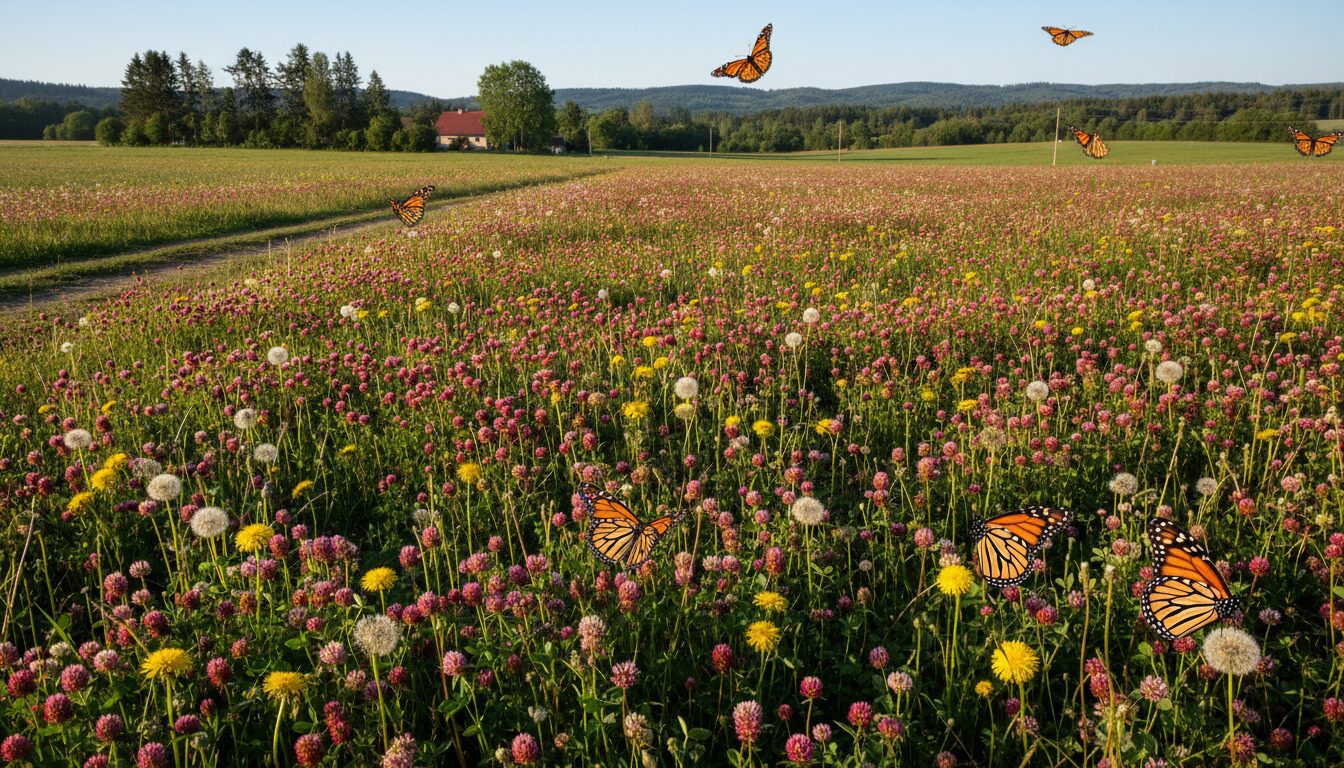
Monarchs arrive hungry and in need of safe, chemical-free spaces to lay their eggs. If your garden beds are ready before they show up, you’ve already given them a head start. In regions like northwest Louisiana, including Bossier City, where warmer winters can accelerate monarch arrivals, prepping now aligns with the first wave of the northward migration. A well-prepared bed doesn’t just look pretty; it supports the monarch life cycle from egg to butterfly and reduces your workload later in the season. Good prep now means less weeding and more time observing the full lifecycle unfold.


Step 3 – Design a Layered Monarch Planting Plan
Now the fun begins: deciding what goes where. A simple layered design works beautifully for both monarchs and other pollinators. Prioritize native species adapted to your USDA zone (e.g., zone 8a in northwest Louisiana around Bossier City) for resilience and minimal maintenance. Think in three zones—back, middle, and front—arranged by height.
Back Zone – Tall Nectar Plants
These are the backdrop and buffet line.
Height: About 3–5 feet.
Plant ideas (adjust to your region):
– Joe-Pye weed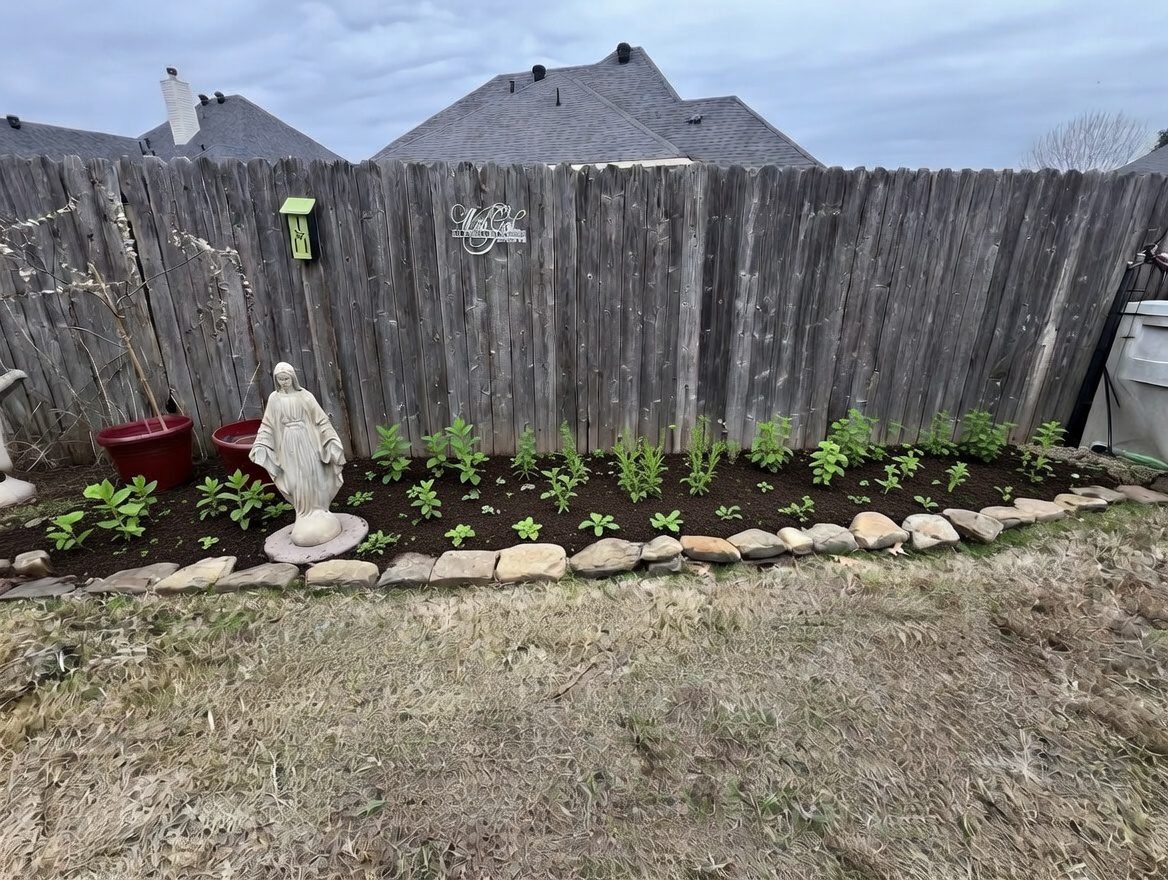
– Tall salvias
– Tall zinnias
– Native ironweed (Vernonia spp.) or similar native tall nectar plants
These plants create a soft windbreak and offer abundant nectar for monarchs and many other pollinators.
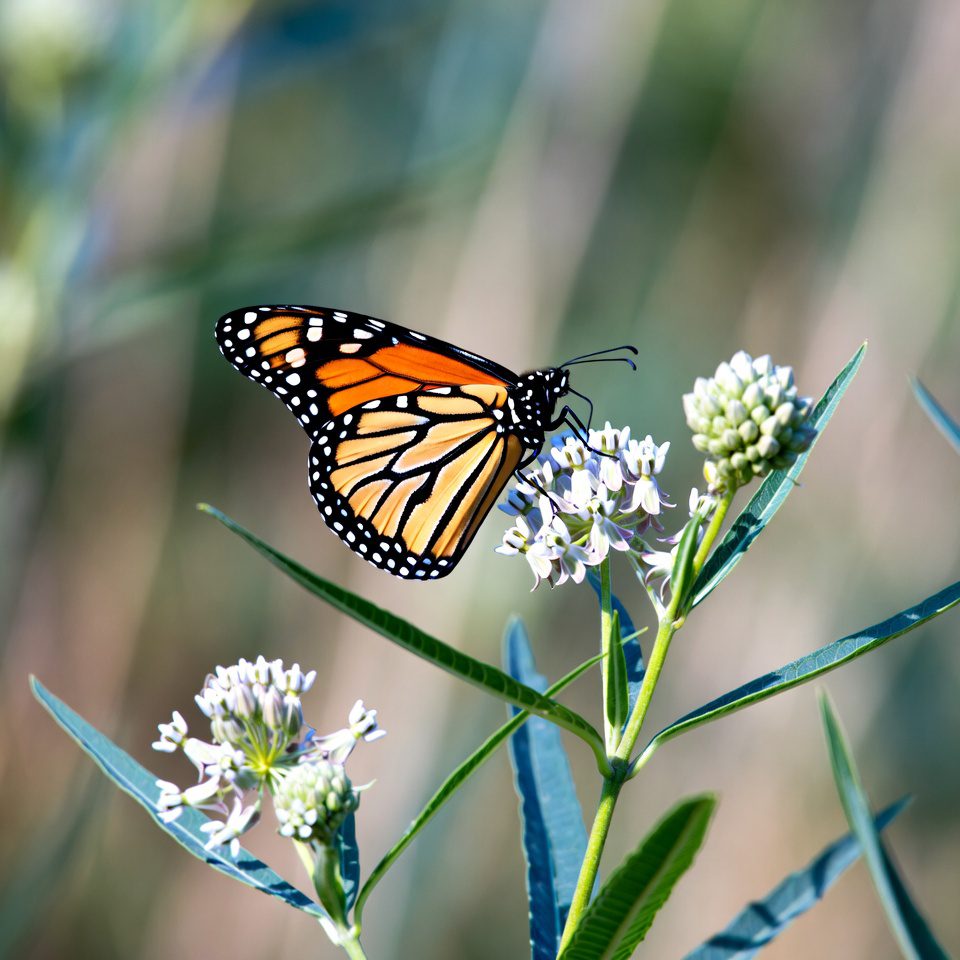
Middle Zone – Milkweed: The Nursery
This is the heart of your monarch bed—the host plants where females lay eggs and caterpillars grow.
Height: Around 2–3 feet.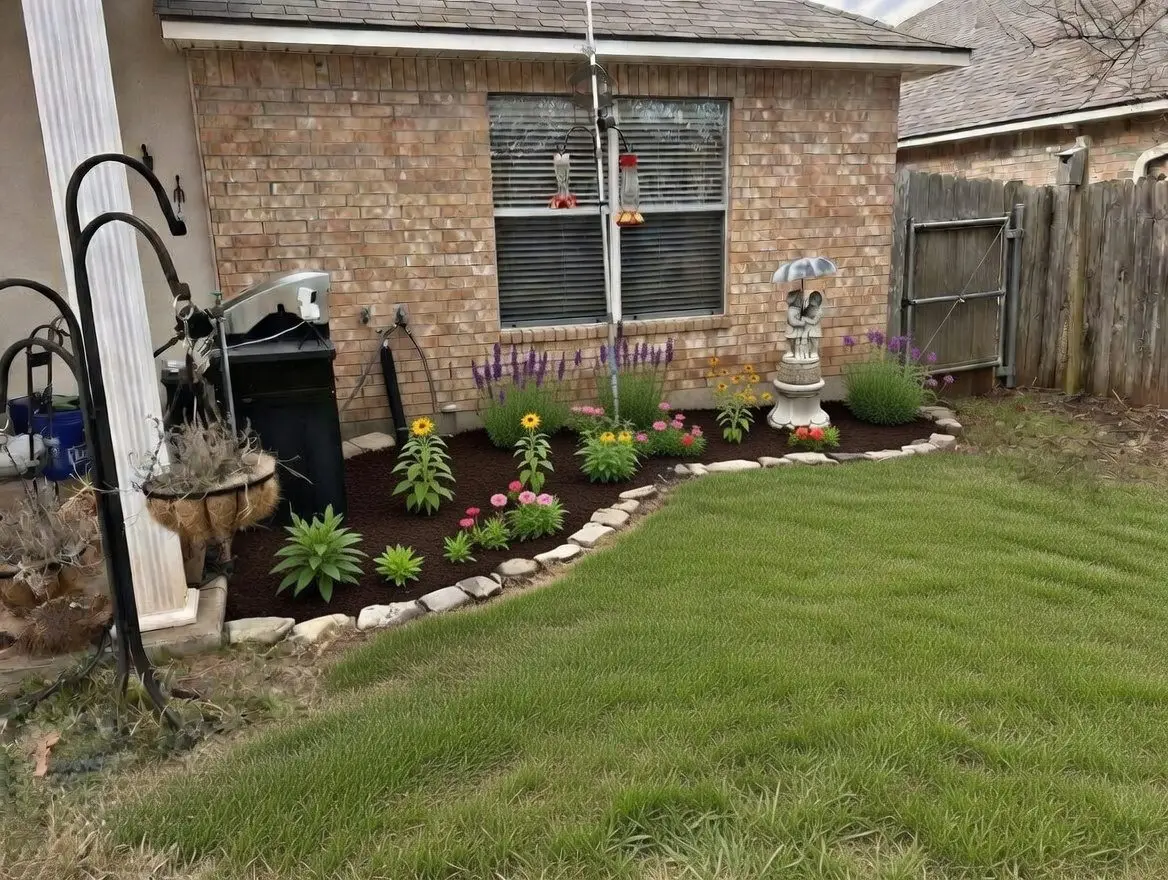
Plant ideas (choose species appropriate to your region):
– Swamp milkweed (great for wetter soil)
– Aquatic milkweed (for very damp spots)
– Butterfly milkweed (for well-drained, sunny places)
Plant in small clusters so monarchs can easily find and move between plants. Aim for at least three milkweed species to support genetic diversity and continuous availability. Your goal here is variety and resilience: if one patch gets eaten down, another is ready to step in.
Front Zone – Low Nectar and Color
This is where you add eye-level color and easy-access nectar.
Height: About 1–2 feet.
Plant ideas:
– Lantana (opt for native alternatives like Texas lantana in invasive-prone areas)
– Dwarf zinnias
– Compact salvias
– Low-growing native flowers appropriate to your area
These front-edge plants draw you—and the butterflies—right to the bed. They also make the garden inviting for children and visitors who may be seeing monarchs up close for the first time.
A Simple 4′ x 8′ Monarch Bed “Recipe”
Here’s an easy starter plan you can adapt to your yard:
Back (along the longest side): 3–4 tall nectar plants spaced about 18–24″ apart.
Middle: 6–8 milkweed plants in two staggered rows, about 12–18″ apart.
Front (facing your main viewing area): 6–10 low nectar plants spaced 10–12″ apart for a colorful border.
Adapt spacing based on your local climate; in humid Southern areas like northwest Louisiana, allow extra room to promote airflow and reduce fungal risks. You can sketch this on paper, label each zone, and take the sketch outside with you as you plant. It doesn’t have to be perfect—nature will happily soften any rigid lines you put down.
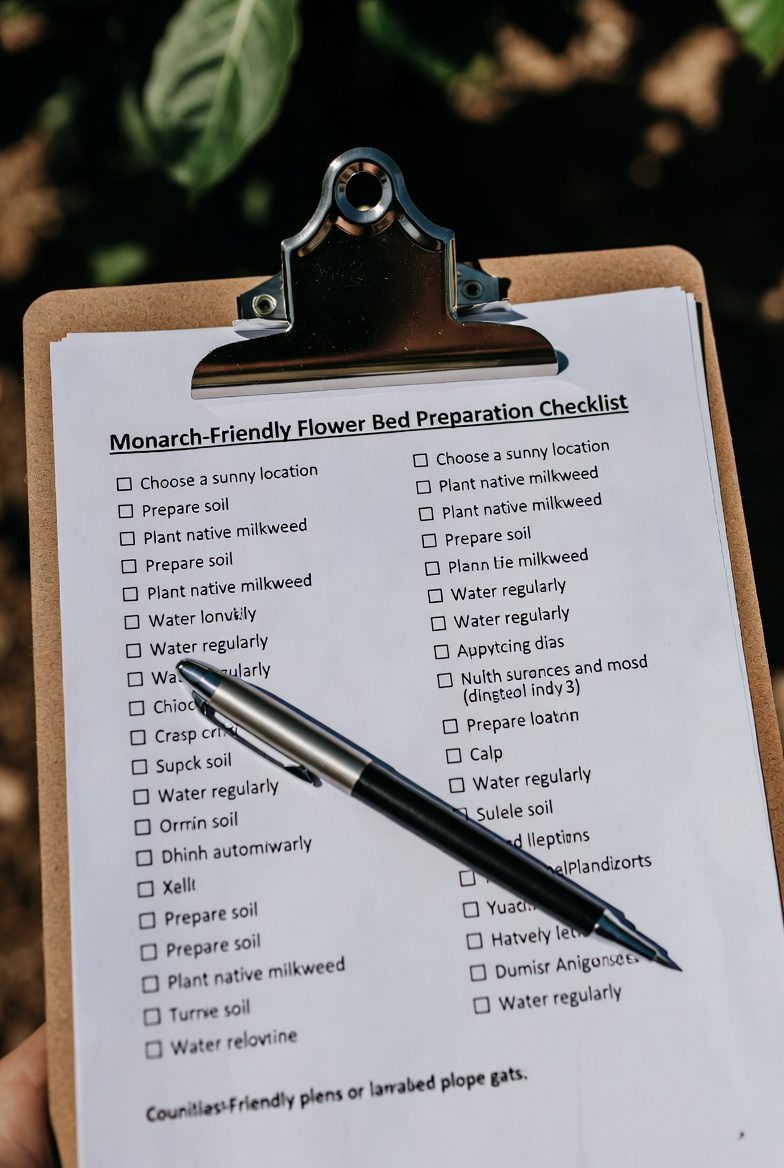
This checklist is derived from the post “Preparing a Monarch-Friendly Flower Bed: Week-by-Week Prep and Layout Ideas for the 2026 Spring Migration.” It organizes the key actions into a printable format for easy reference. Print this document and use the checkboxes to track progress. Actions are grouped by step for clarity.
Down load for your use:
Comments (0)